
A Step-by-Step Look at Refinishing Hardwood Floors & Stairs
Here’s what you can expect when you hire the professionals at Barnum Floors to refinish your existing hardwood.
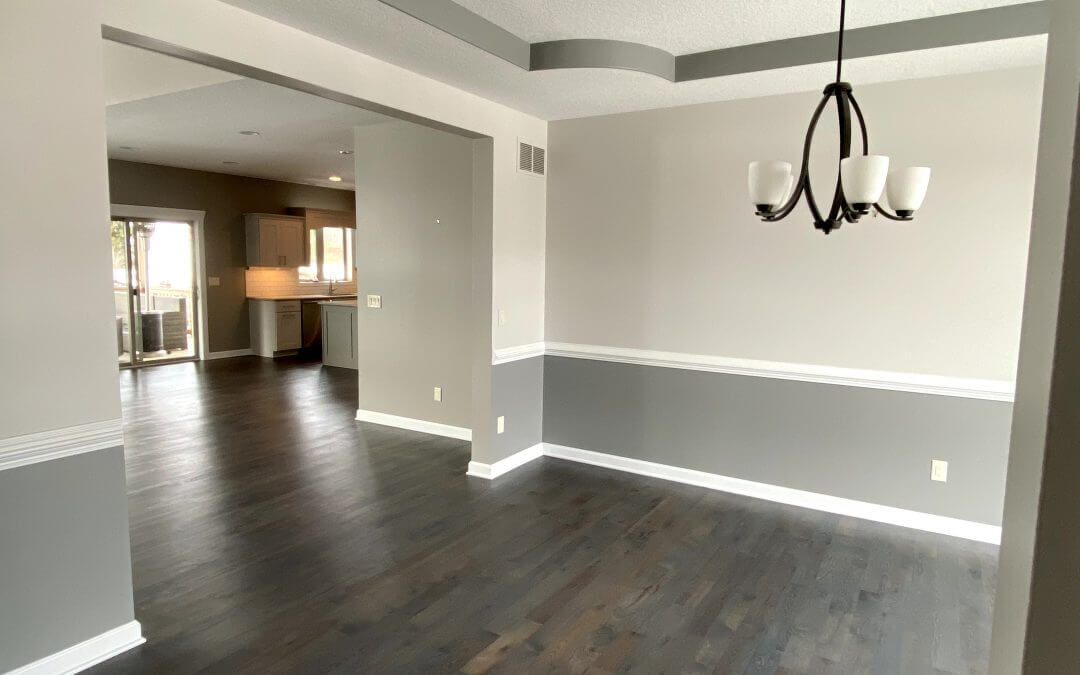
Step 1: Base Shoe & Trim
Before the hardwood floors can be refinished, you will need to prepare your home by removing all existing base shoe (that small piece along the bottom of your trim), appliances, and furniture. Our staff can take care of everything except the furniture removal, but we know of several companies in the Des Moines area that can move your furniture for an hourly rate. We can help you relocate your fridge to a place where it can be plugged back in, but your stove won’t be able to be used while we refinish your floors.
If you’re refinishing hardwood floors that have been carpeted, you will most likely need to have new base shoe trim installed around the perimeter of your room. This piece of trim hides the space between your hardwood and the base trim that is left for the expansion and contraction of your home. This gap was previously hidden by the carpet and pad. Our trim carpenters will arrive before we start sanding to remove the existing base shoe and finalize measures for the new trim that will be necessary to complete the project.
Step 2: “Lace In” New Wood as Needed
Sometimes in older homes, it is necessary to replace or “lace in” new wood to the existing hardwood due to water damage, pet stains, or areas where previous cold air returns were located. Most of the time there is little to no difference between the new wood and existing wood once the project is completed.
Step 3: Prepare & Plastic Off Areas
Before we begin the sanding process, our crews will come and prepare your home. We will plastic off any doorways, cabinetry, or areas that are not being refinished. Although we have dustless sanding, dust can occasionally escape into the room, so the plastic adds another layer of protection.
Step 4: Sand, Buff & Tack the Hardwood
Sanding hardwood floors for refinishing involves numerous steps. The sanders start with a more aggressive grit sandpaper to remove the current finish and debris, then they make several additional cuts with the sanders at higher grits to produce a smooth, even surface. Depending on the size of the area you are refinishing, this process can take one day or multiple days. We follow the National Wood Flooring Association’s sanding guidelines with each step for the best results. The final step is to vacuum and dry tack the wood in preparation for coating.
Step 5: Coating
Barnum Floors offers a variety of finishes to choose from, including water-borne urethanes, oil-modified urethanes, and hard wax oils. The process and schedule for applying finish vary based on the product you’ve chosen and the manufacturer’s dry time. Some products allow you to walk on your hardwoods by the end of the day, while others require you to be completely off the wood areas throughout all of the coating steps. Pets need to be off the floors during the course of the coating, regardless of finish choice. We will provide you with a detailed schedule for your particular project so you will know when you can and cannot be on the finish.
Step 6: Putting Your House Back Together
After the final coat, our team will help you put your home back together. Appliances will be returned to their places, all existing base shoe or new base shoe will be installed, and any doors that have been removed will be re-hung. You will be responsible for the final fill and touch-up of all trim work.
To complete your hardwood floor refinishing project, we may have removed your toilet, pedestal sink, or dishwasher depending on the tear-out. If so, you’ll need a plumber to reinstall these items as our insurance does not cover the installation of plumbing on them. But, we’re happy to arrange a plumber for you, and you will be billed directly by them for their service.
Step 7: Protecting Your Hardwood After Refinishing
Protecting your newly refinished hardwood floors is the most critical component to keeping your investment looking new, and we offer several protective options for you. We recommend you put felt protection on all furniture and install wool “tap-ins” on all moving wooden furniture, including chairs, bar stools, and ottomans. These wool pads pound into the legs of your chairs and last for several years. Along with installing wool pads, plastic wheels on rolling chairs must be replaced with rubber rolling wheels.
Barnum Floors will provide you with a complimentary cleaning kit to get you started caring for your hardwood floors properly from the first day. Different finishes require different cleaning products, so be sure to talk to the staff in our office. Many interior products on the market right now say they will “rejuvenate” your hardwood when, in reality, they can cause oil build-up to adhere to the urethane. We advise that you avoid any and all products that say they will renew, polish, or rejuvenate your hardwood floors.
Rugs should be left off of the hardwood until the finish has had a chance to completely cure from the inside out, and the same rules apply to cleaning your floor. The waiting period is 1-3 weeks depending on the finish used.
Step 8: Maintaining Your Hardwood Floors
We recommend you have your floors buffed and recoated or have a renew oil coat applied occasionally to maintain the integrity of your finish. Keeping up with this regular maintenance will prevent the need to refinish your floors again. The frequency you’ll need to do this will depend on your lifestyle, pets, and children, among other factors. Some people need this done in 5-7 years, while others can wait 7-10 years.
All the furniture must be removed from the hardwood areas for this process, but we won’t need to remove trim or appliances. In most cases, you can be on the floor later that night or the next day. You can contact Barnum Floors to set up a time for someone to come out and assess your need for this service.